There are many ways to separate an object from its background using Photoshop. Of course, you can even use an Eraser Tool, :) but only if you're a novice. Do you know, why? It's because you can get back a part of the image that you've erased only with Step Backward function... if it's still available. So, in this tutorial I'll show you, how to separate an object from its background using... Pen Tool. This way is good for objects with accurate and smooth contour.

2) Take Pen Tool.

The options of Pen Tool must be like on the picture below.

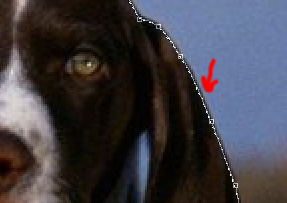
3) Start edding points at the edge of object, but not too close to the edge, leave about one millimetre. Don't add to much points at this stage. Now you just need to designate main positions.

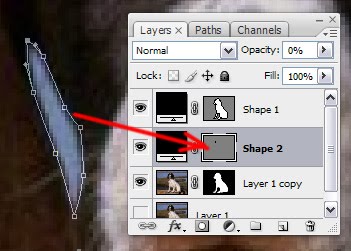
4) If you see a figure, filled with colour, it's ok. Just make it transparent by setting Layer's Shape 1 Opacity 0%.
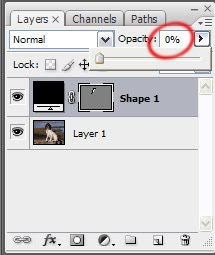
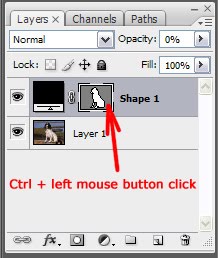
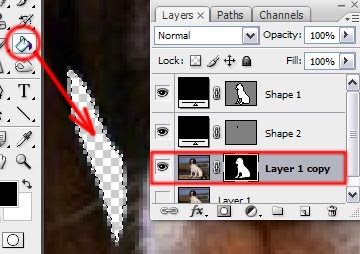
5) When the line is closed, all the main points disappeared. It's ok. Just Ctrl + left mouse button click on the line.

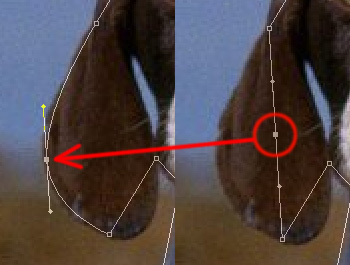
6) Now it's time to add other points for our contour. By directing Pen Tool on the line you'll see that it has "+". It means that you can add a point. Ctrl + take the point and move it to the right place, repeating contour of the object.
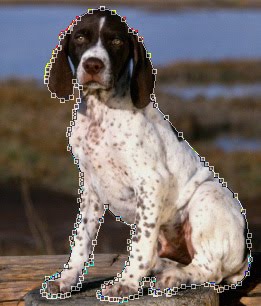
7) This is what your object will look like when you'll add all the points for the contour. :)
9) If you did it the right way, you'll see moving dotted selection line around your object.
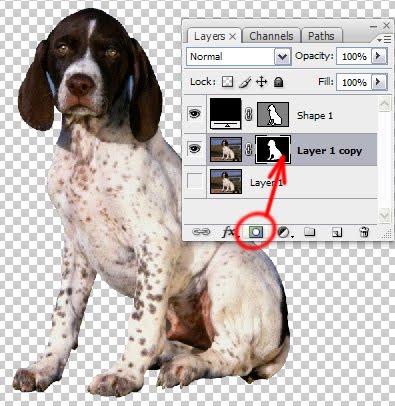
10) Now we'll make our background invisible by adding a mask. Just click on the button, shown on picture (Add layer mask). If you have layers under your object layer, just click on the "eyes" of that layers to make them invisible. If you did it the right way, you'll see you object on transparent background.
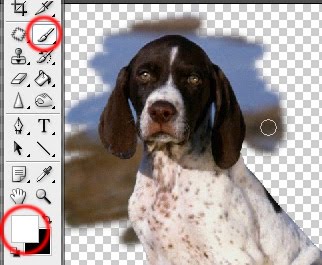
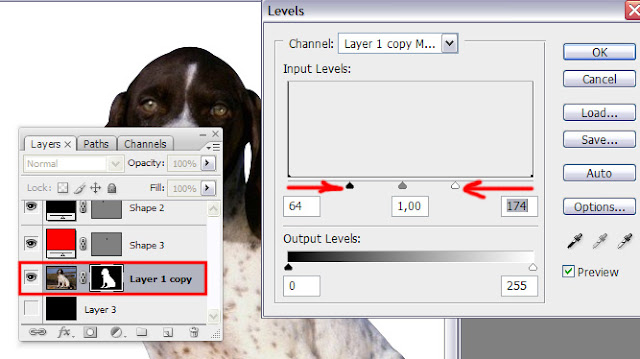
11) You can get back any part of your image, just drawing with white brush (black brush to erase) on the mask.

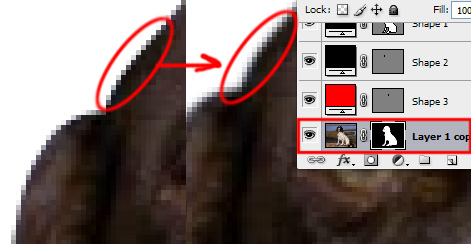
16) Now our contour looks much better. :)
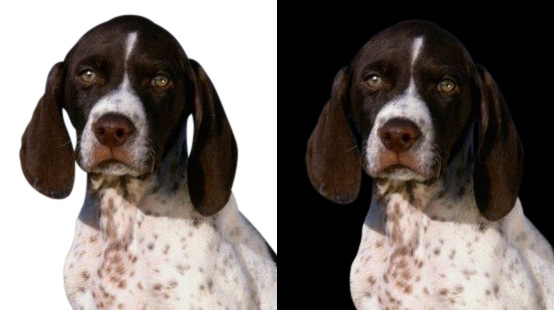
18) Here is my result. I've added a other background and shadows.

No comments:
Post a Comment